
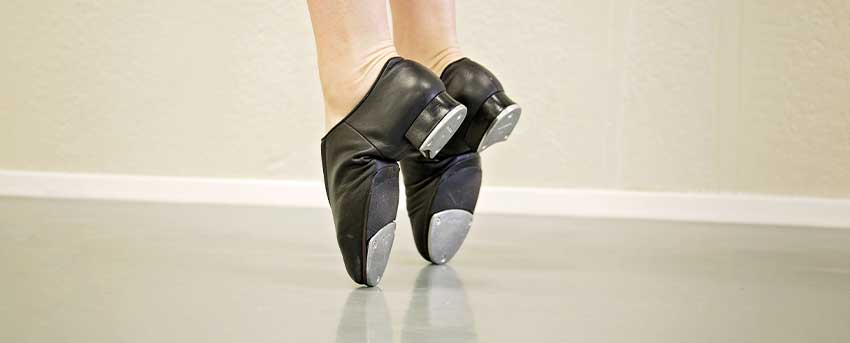
Tap Dance Floors: The Best for Sound and Speed
Tap dance is one of the only dance styles that rely on aural senses as much as visual. You want your tap dancing to look pretty, but it’s all about the sounds. That’s why choosing the correct floor is such a high priority.
When you’re buying tap dance floors , you want to look for a floor with just enough grip to keep you safe on your slides and turns. You also want to look for a floor designed with tap resonance in mind.
Find the perfect floor for your studio with our tap dancing floor buying guide. For studios, schools, companies, and more – find a floor for everyone from beginner to professional.
How to Choose Tap Dance Flooring
When shopping for tap dance flooring, there are a few considerations you’ll want to keep in mind to ensure excellent performance.
- Sound: Tap dancing is all about sound quality. Therefore, the floors should be hard enough to provide sharp, reverberating sounds so you can hear the rhythm and tone clearly.
- Portability: If you want to tap on the go, the portability of your tap dance floor is an important factor while shopping. From transporting to installing, consider your comfort level before buying your dance floor.
- Scuff-resistance: Tap shoes are hard-soled and can be very abrasive on all floors, so it’s important to shop for scuff-resistant tap floors.
- Durability: As mentioned before, tap shoes are hard on all floors, and no one wants to ruin a non-dance floor by practicing. For a floor that will keep up and last, you’ll want to find a dance floor that is ready to hang tough for all the practices and recitals to come.
- Size: All tap routines are synchronized whether it’s a solo act or group number, your floor needs the space to fit a variety of routines.
Types of Tap Dance Floors
To know what you’re looking for, it’s important to know what types of tap dance floors are out there. There are tap dance rolls, also known as Marley floors, tap dance tiles, tap dance flooring kits, and dance subfloors. Let’s dive in!
Dance Rolls for Tap Dancing
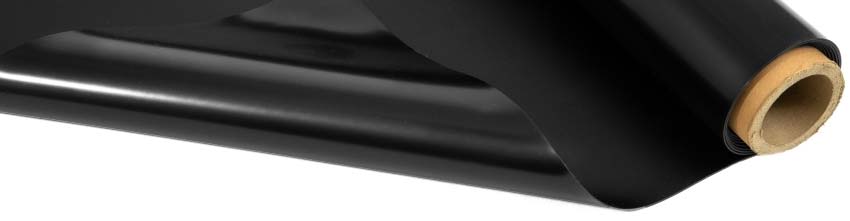
Dance rolls are also referred to as Marley floors. The truth is, Marley floors started as a brand of dance flooring. However, true Marley is no longer available anywhere. These days it’s the rolled vinyl we all know as Marley that’s more readily available.
Many people assume you can’t tap on dance flooring rolls, but that’s not correct. Marley is often the best choice for tap dancing. It is designed to give you the best sounds, while still providing that sought-after combination of grip and slide. Tap shoes can be slippery, but this floor will give you a little extra stability without muffling your sounds.
Dance rolls are the most popular and versatile dance flooring options. They are perfectly suited to every style, making them ideal for a shared studio space. Plus, portable tap dance floors come in rolls to make it easy to practice or perform on the go!
Top-Rated Tap Dance Rolls
To make shopping easier, here are some of our customer-favorite tap dance rolls.
- VersaStep Dance Rolls – Custom Cut
- Rosco Adagio Rolls – Custom Cut
- Rosco Adagio Tour Rolls – Custom Cut
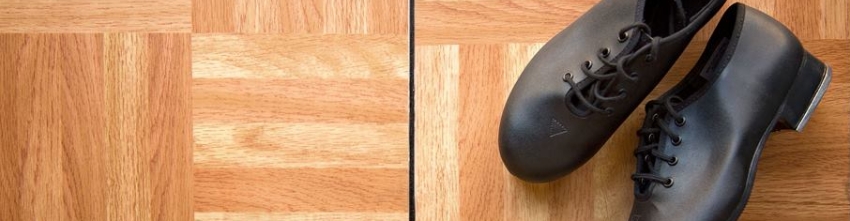
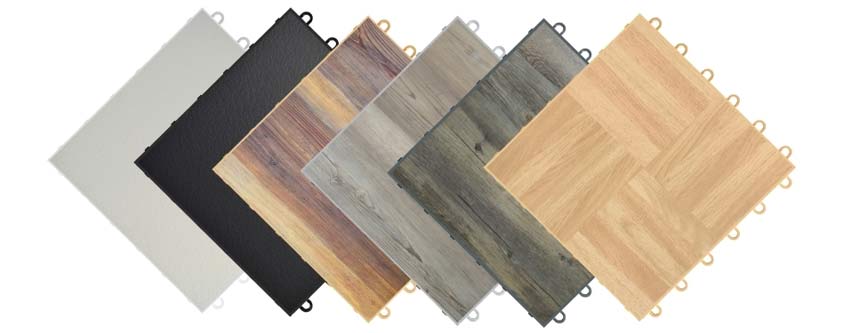
Tap Dance Tiles
If you’re looking for something a little more versatile that can double as home flooring, tap dance tiles are the perfect flooring solution. Most of our tap dance tiles are made with real wood looks, they’re great for sound quality and they look sharp.
Some tiles come in a vinyl tile form, while others look like a traditional wood floor. But no matter what they look like, all dance tiles are great for working on your quick ball change. Tap dance tiles can go from the studio to your home with no problem at all as they are also easy to install.
Tap dance tiles are ready to support your tap star’s dream. Enjoy the look and sound of these tiles everywhere they’re installed.
Top-Rated Tap Dance Tiles
To start tapping on the right foot, here are some of our top-rated tap dance tiles to choose from.
Portable Tap Dance Floor Kits
These kits are the ultra-portable, easy, and affordable dance flooring option. While these kits are not meant to cover a large space, they are portable and designed to give you a practice space.
Maybe you want to practice your tap dance at home? Or, maybe you teach a small class in a community space and you need a temporary floor you can easily put down and take apart? If that sounds like you, portable dance floor kits are the right move for you! They come in multiple sizes to fit your needs and space.
Dance floor kits are specifically designed for tap. Even though they’re more slippery than Marley, they are more catered to tap than other wood floors.
Top-Rated Portable Dance Floor Kits
If you’re ready to start tapping on the go, start with some of our customer-favorite portable tap dance floor kits.
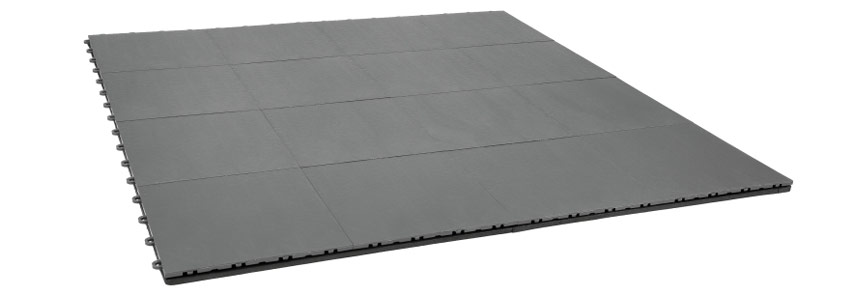
Dance Subfloors
Why are dance subfloors a thing? Because while dancing you need a floor that supports you, even when you fall. Whether you’re part of a studio, school, or professional company, the last thing you want is injured dancers. The subfloor absorbs and distributes the dancer’s weight, which allows dancers to continue to jump, leap and roll with a lower risk of injury.
Thankfully there are tons of great, supportive subfloors to go under your tap dance floors. Just install your subfloor tiles over a clean, flat, level surface.
Thankfully there are tons of great, supportive subfloors to go under your tap dance floors. Just install your subfloor tiles over a clean, flat, level surface.
Top-Rated Dance Subfloors
To find excellent support, check out our top-rated dance subfloors to get your dance studio started on the right beat.
How to Install Tap Dance Floors
Each dance flooring roll is a little different and depends on the type of tap dance floor you have, and whether you are doing a permanent, semi-permanent or temporary installation.
For a basic understanding of how to lay dance flooring, let’s go over how to install tap dance rolls and tap dance tiles.
For a basic understanding of how to lay dance flooring, let’s go over how to install tap dance rolls and tap dance tiles.
How to Install Marley Tap Dance Flooring Rolls
Traditionally, you can easily install Marley dance rolls yourself by laying rolls flat and using vinyl tape over the seams. However, there are few considerations for temporary and permanent installation methods. Let’s take a look.Temporary Installation
- Unroll the flooring and let it rest for 1-2 days to allow it to relax until it lays flat. Install the shiny side down, matte side up.
- To make any cuts to the rolls, use a straight edge and a utility knife. Be sure to leave a 1/4″ gap around the rolls to account for expansion and contraction from temperature changes.
- On the underside of each roll, apply double-sided carpet tape around the perimeters, and firmly press the edges to the floor, ensuring there are no ripples.
- If you’re installing over foam subfloor tiles and you have excess around the edges, tape this perimeter down to your main floor using Mat Tape, creating a ramp or tapered installation. If you’re installing over foam tiles and there isn’t extra around the edges, tape down the perimeter of the roll directly to the subfloor tiles using Mat Tape.
- Use mat tape on top of the flooring to join the seams of multiple rolls together.
Permanent Installation
When it comes to the permanent dance flooring, there are a few more steps to take to make sure that the floor stays put. This process requires glue to ensure excellent adhesion to the subfloor.- Spread out the rolls and allow them to relax for 1-2 days until they lay completely flat. Make sure the shiny side faces down, with the matte side up as the top is textured to provide a better grip while dancing.
- Use a straight edge and a utility knife to cut the rolls to fit, and leave a 1/4″ gap to account for expansion and contraction.
- Roll up the flooring at one end of the room. Spread a light layer of adhesive in 10’ increments or shorter depending on your comfort. Then gradually unroll the flooring into the adhesive.
- Continue this step for every 10’ of the roll until you’re finished.
- To push out any air bubble and to ensure good adherence, use a 100-pound roller on the floor. Walking on the flooring in small choppy steps may also work if you can’t find a roller.

How to Install Tap Dance Flooring Tiles
Dance floor tiles are even easier to install than rolls. The edges interlock with a snap, kind of like giant puzzle pieces. You can do it on your own in a day. Plus, you can easily pull them up and transport them if you need to.Let’s get started.
- Start at the top left corner of the dance area. Place the first tile with the peg edges facing towards the top and left. Make sure the loops face the bottom and right.
- Insert the pegs of the second tile into the loops of the first. Step on the edge of the tiles gently to snap them together.
- Repeat this step until you finish one full side of your dance floor.
- Begin a second row, interlocking the top of your second-row tile with the bottom of your first-row tile.
- Follow the same process to fill in all of your rows of tiles to create your full dance floor size.
- Add any finishing pieces once the tiles are in place. These will either have loop or peg edges. Start with the peg edges, and lay them out to be sure you have enough before clicking them into place.
- As you did with the peg edges, count out all of the loop edges to make sure you have enough. Once you are ready you can click the loop edges into place to complete your floor.
Tap Dance Flooring Maintenance
No matter how many signs you put up that say “no shoes in the dance studio,” you know people are going to walk in with their shoes and track in outside dirt and grime all over your beautiful floor.
The best way to combat how difficult it is to keep the outside dirt away is to choose a dance floor that is easy to take care of. You’re going to have to end up cleaning it regularly, so you don’t want a floor that requires a big song and dance (pun intended).
The good news is all of our tap dance flooring options are super easy to clean and maintain. They only require sweeping/vacuuming and a damp mop with a dance floor cleaning solution.
Generally speaking, it’s just as easy as taking care of any home floor. Make sure to clean up spills right away, and you’ll be good to go!
Ready to Get Started?
Now that you have an idea of what you’re looking for in terms of tap dance flooring, are you ready to find the right floor for you?